The Joy of Upcycling
My first upcycled DIY project was handmade gift bows. About seven years ago, I fell in love with the world of upcycling and still have not managed to find my way out of the dumpster. Oddly, enough it’s where I’ve found God’s love and my new beginning. It’s a gold mine of potential. Although, I get plenty of weird looks from people who just don’t get it, I find no reason to come back to the real world. These handmade gift bows were the first things I learned how to upcycle. Every year as I sit down to make them for the year, I am flooded with the joy upcycling brings me. I think about my hopelessness before God showed His love through upcycling. I am even planning to up cycle products into wedding gift baskets.This year, I have plenty of reasons to feel hopeless. My life has turned out completely different than what I imagined, but as I sit and make these bows, I am reminded of how God sees me despite my imperfections.
I’m not sure what brought you to this post, but I hope these bows bring you even a fraction of the joy they brought me.
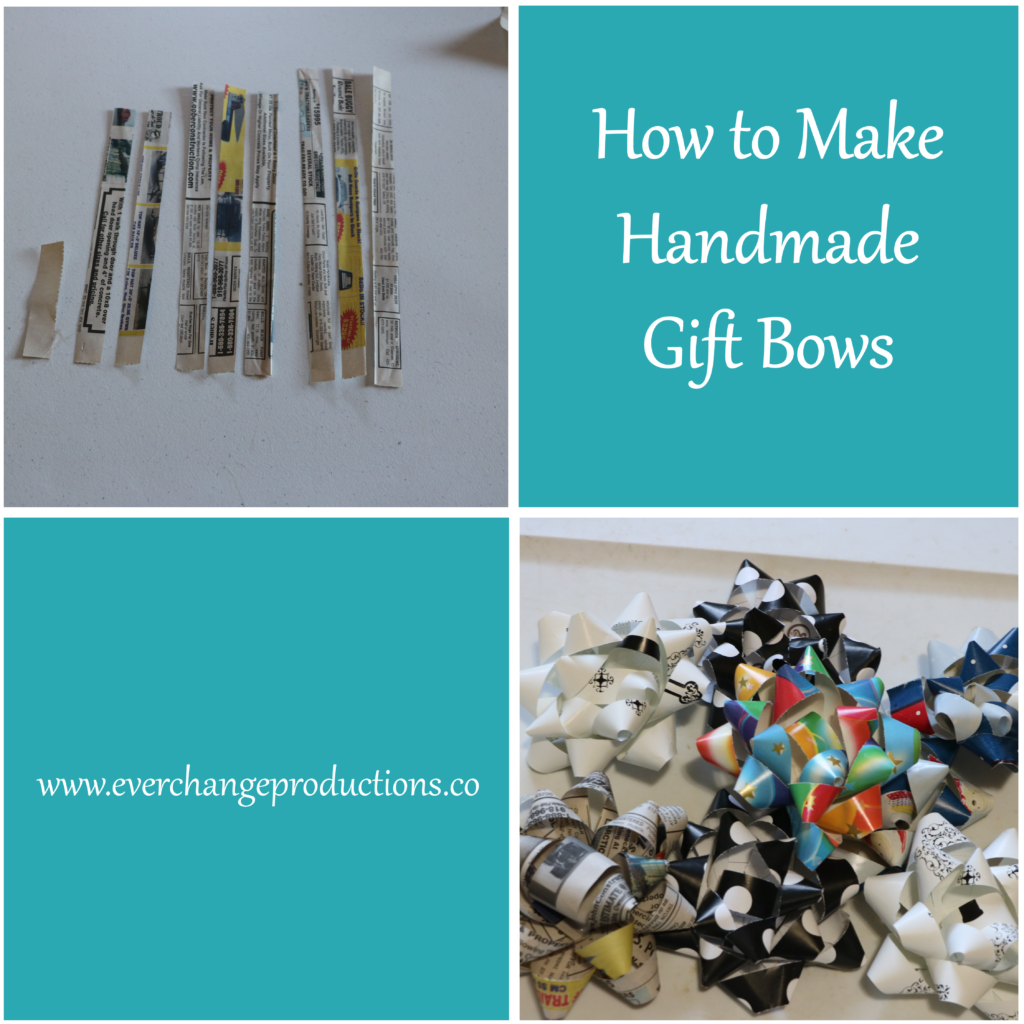
How to Make Handmade Gift Bows Out of Paper
You can use any kind of paper to make these, such as newspaper, paper bags, magazine paper, or just copies you no longer need. Every Christmas, I collect wrapping paper from everyone’s gifts then use it make handmade gift bows for the next year.
Materials Needed:
Scrapbooking Trimmer
Paper
Scotch Tape
Stapler
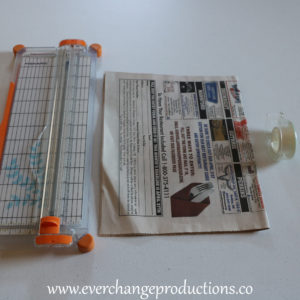
Step 1: Cut the Strips
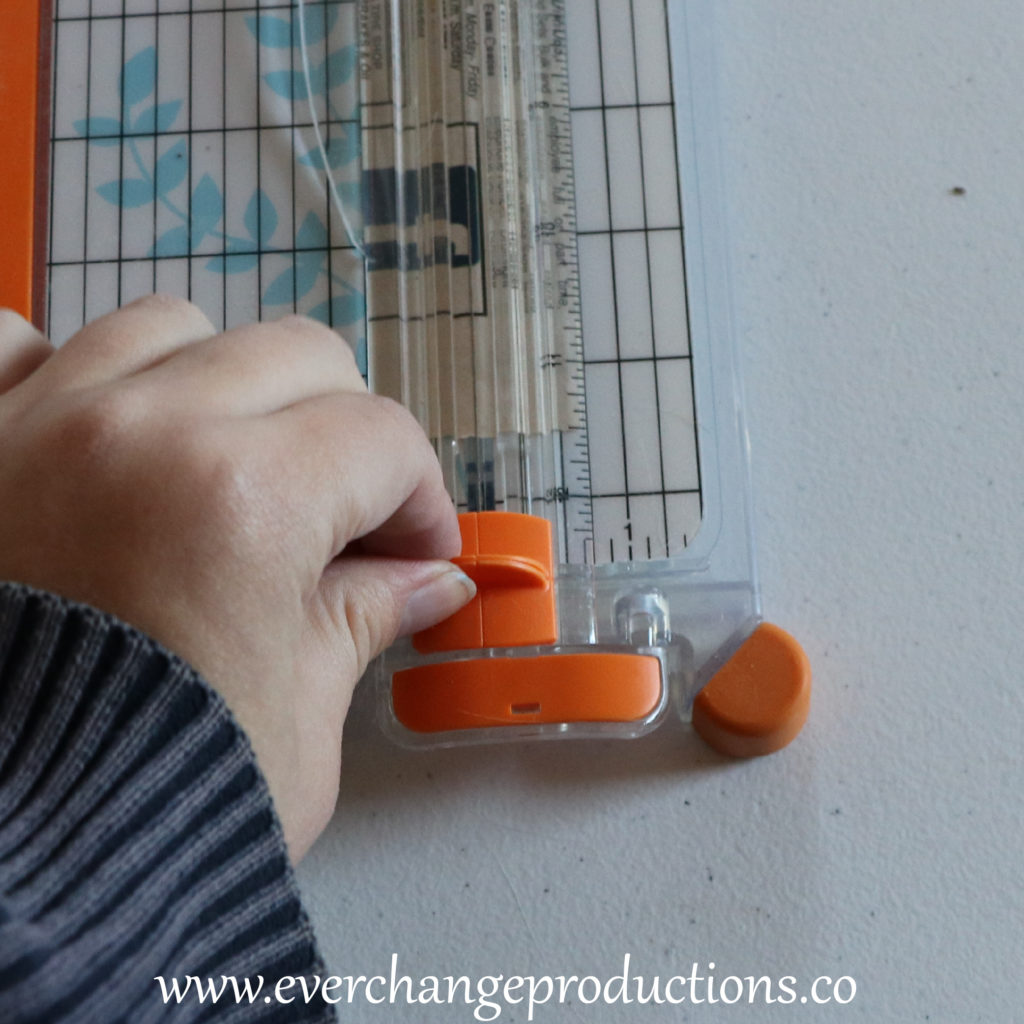
During this project, a scrapbooking paper trimmer will be your best friend. Technically, you could cut your paper with scissors, but the trimmer will give you a perfect strip.
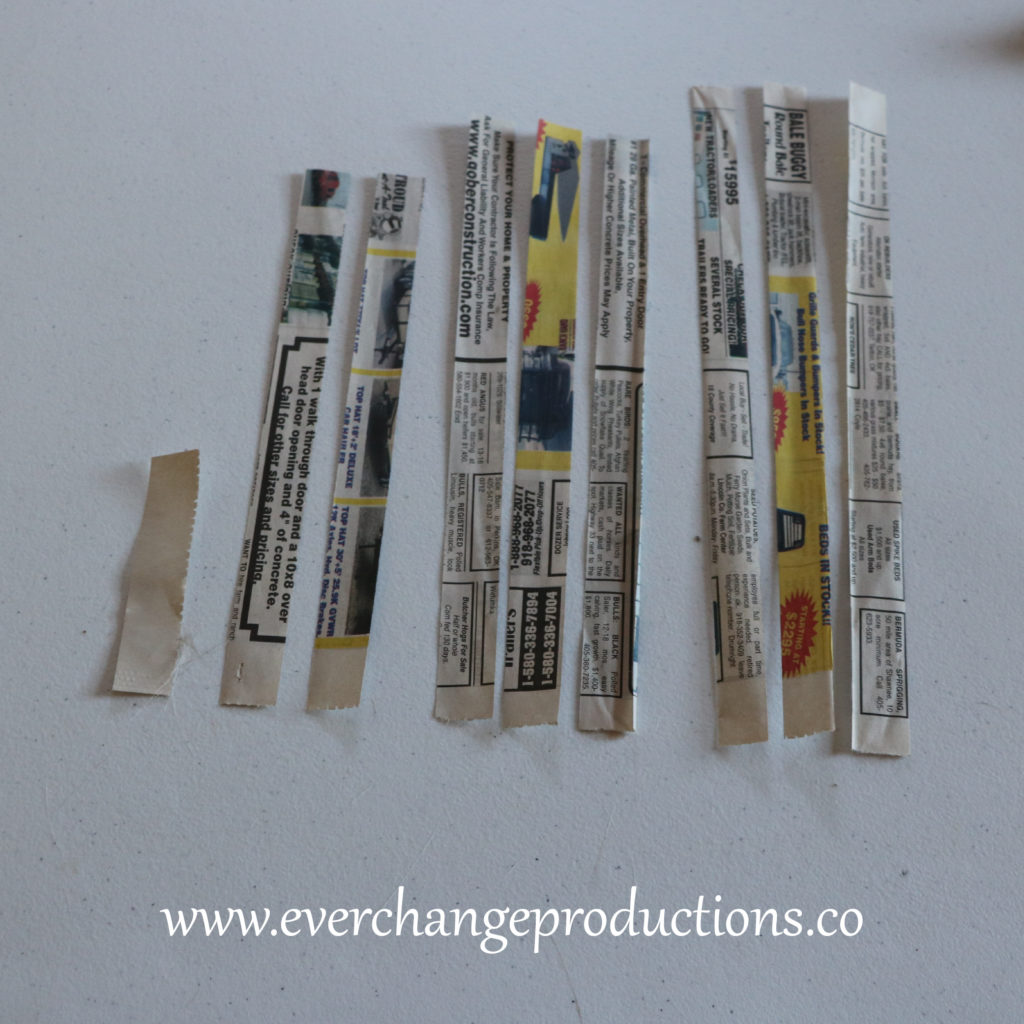
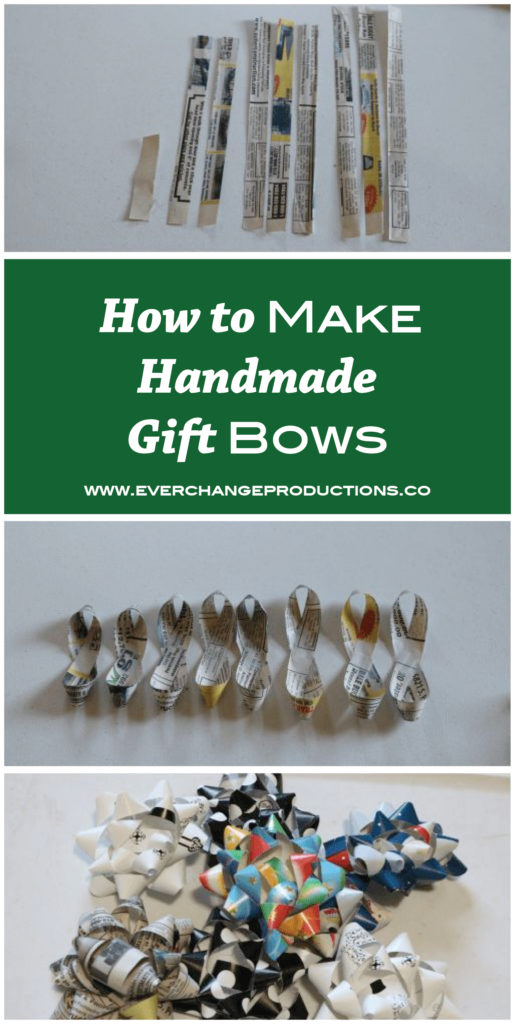
You’ll need 3 11 inch strips, 3 ten inch strips, 2 nine inch strips and 1 three and half inch strip.
Step 2: Top Loops
For each strip, except the shortest, twist the top half into a loop. You can either hold the loop in place or tape it down.
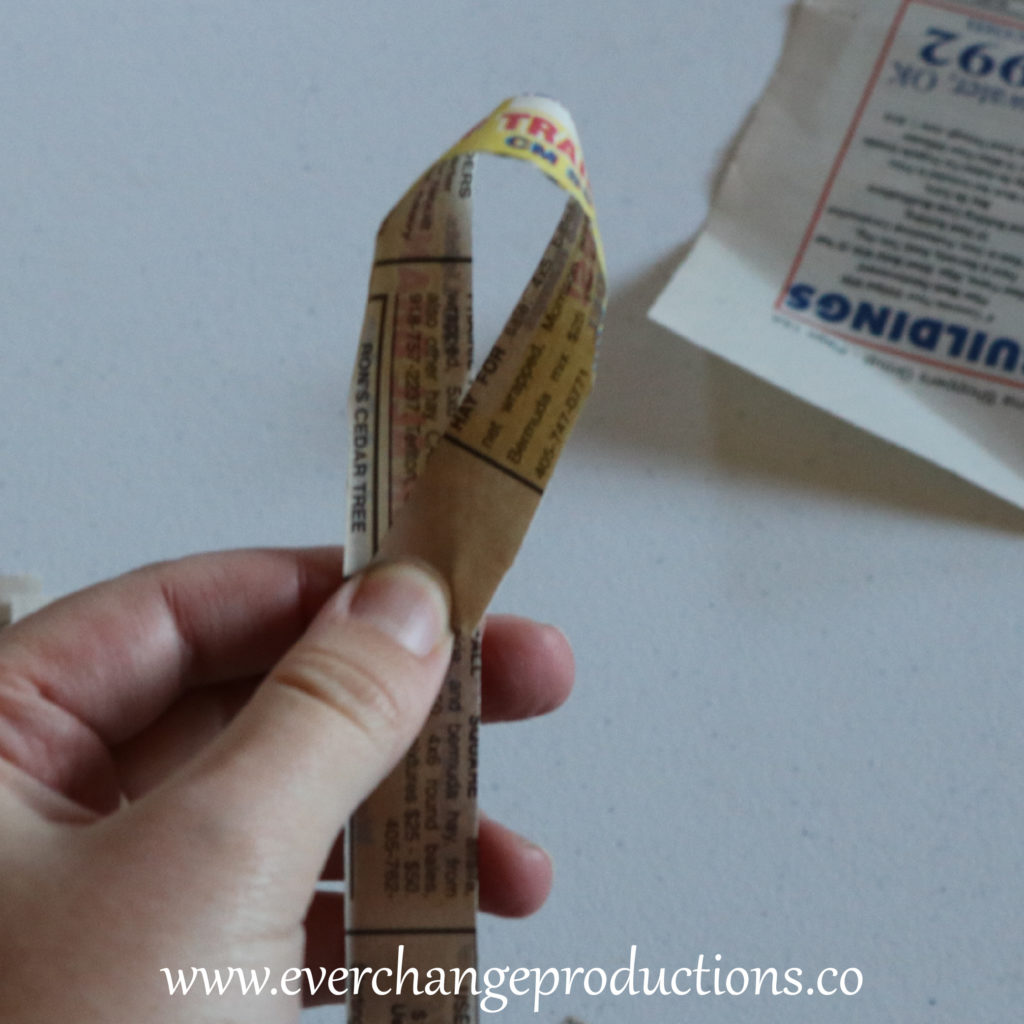
Step 3: Bottom Loops
Twist the bottom half the opposite direction and then tape across the middle, so the loops don’t come apart. Make sure the loops are as even as possible for you tape them.
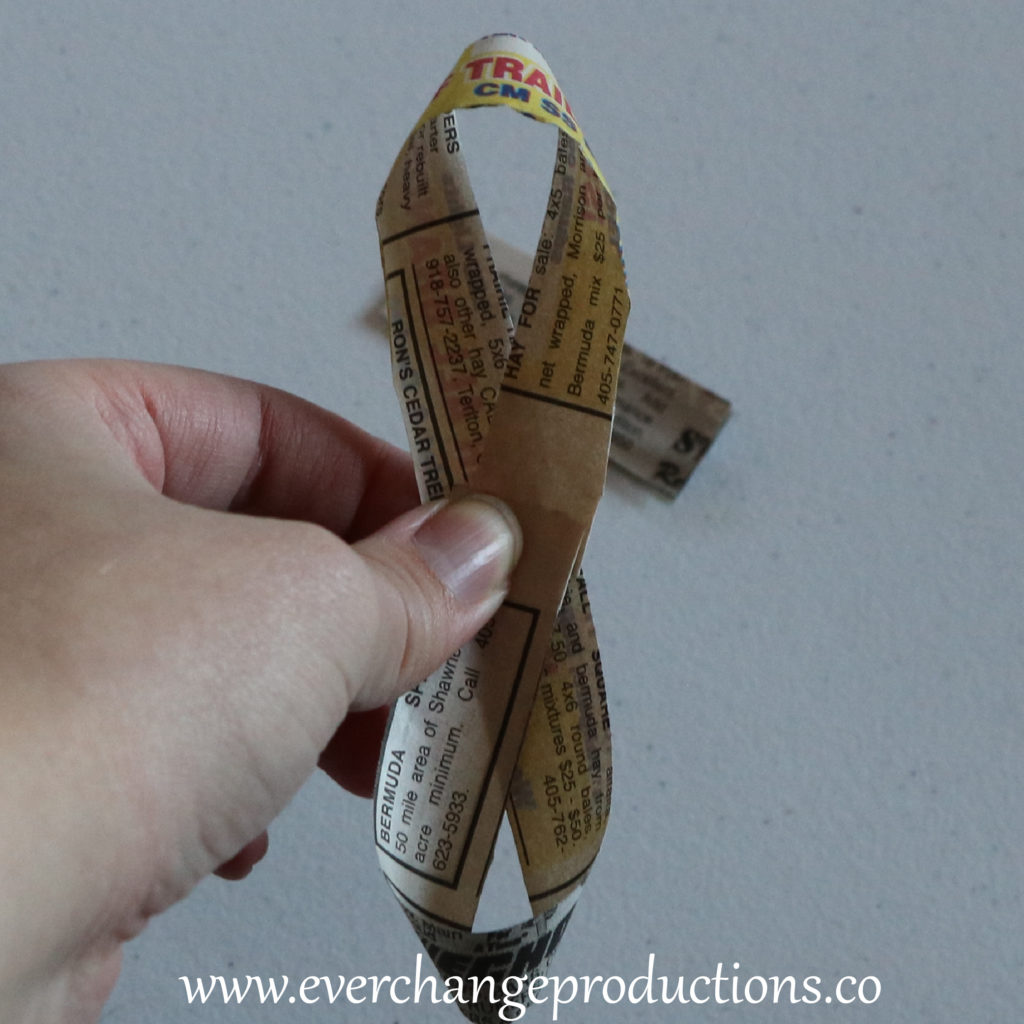
Step 4: Put it Together
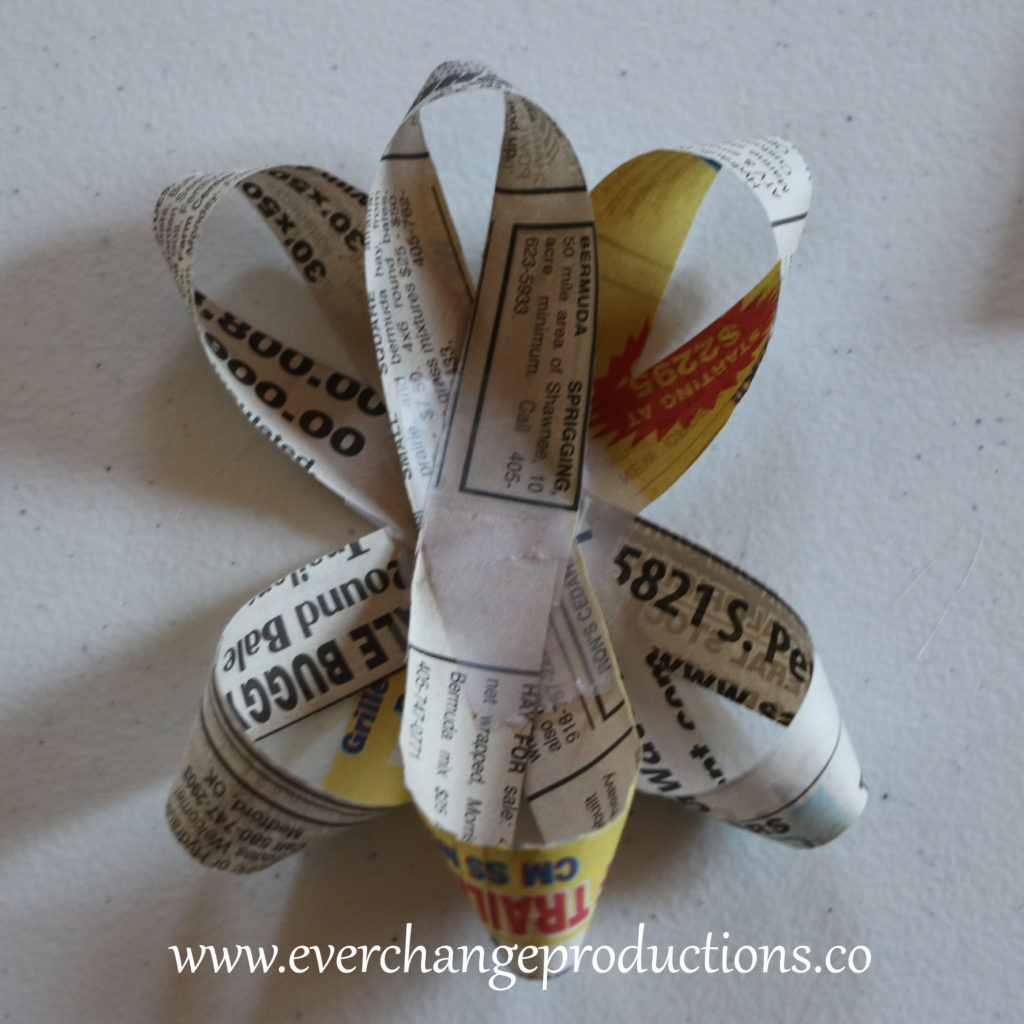
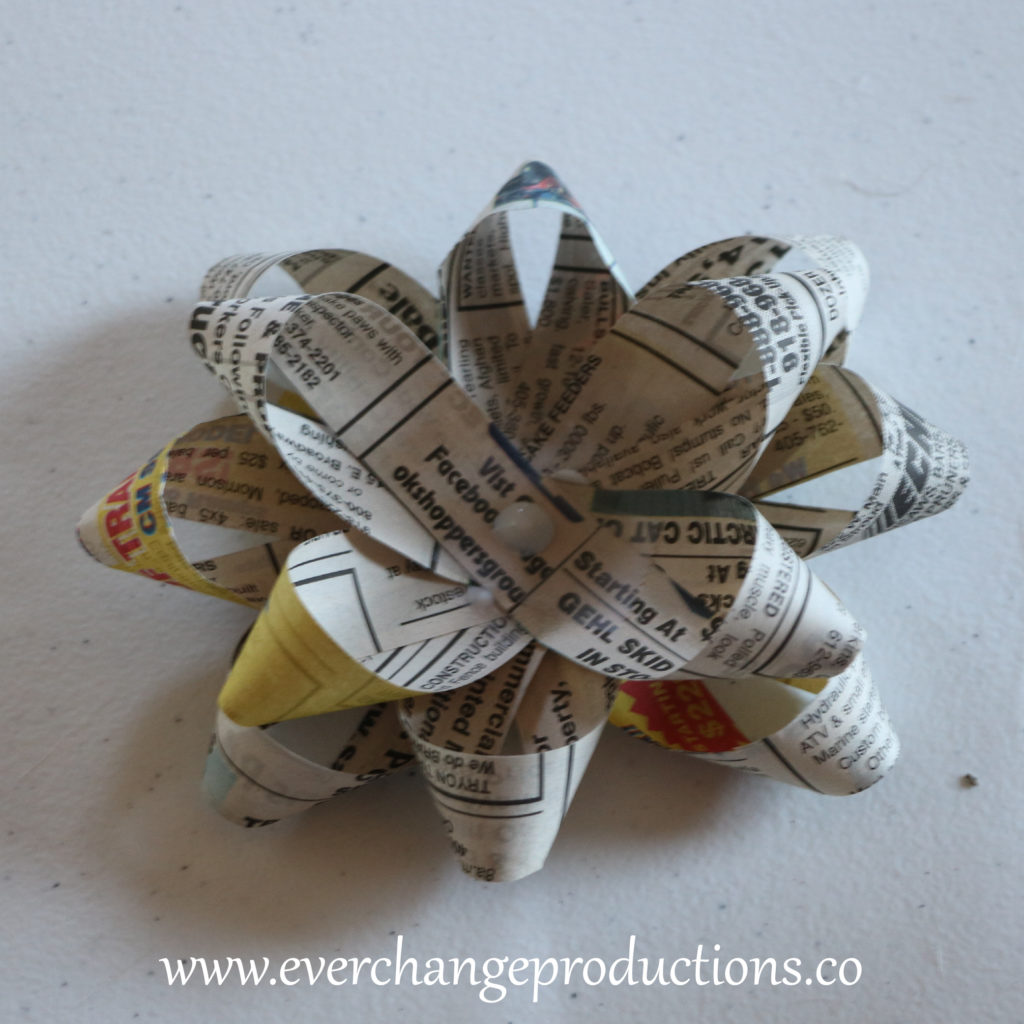
Once all your strips are finished, start to stack starting with the longest strips on the bottom. Start with a cross of the 11-inch strips, then evenly fill in the gaps with the shorter strips. I prefer to hold the middle of my bow between my thumb and pointer finger, but the strips do move around, so if it’s easier for you, place the bow on the table and tape the strips in place.
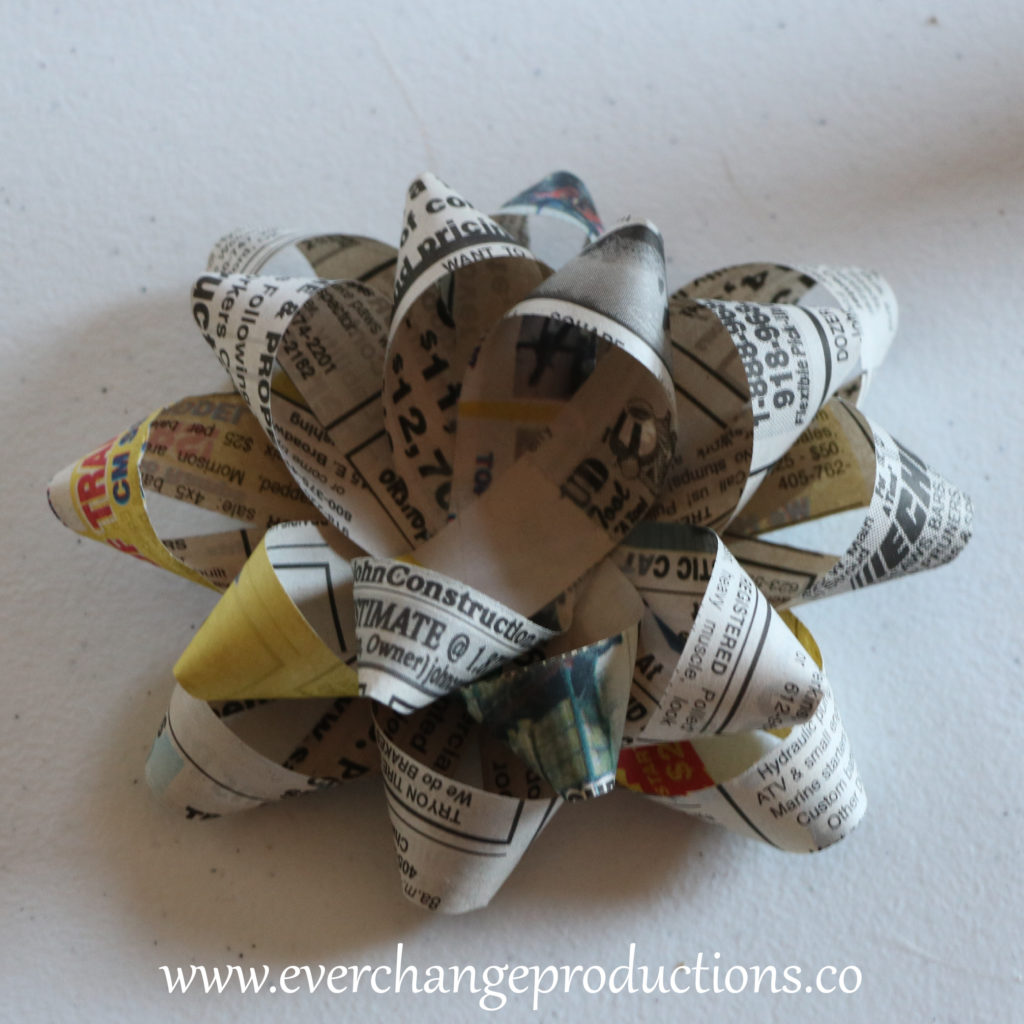
Step 5: Staple
Staple the gift bow loops into place.
Step 6: Make the Middle
Take the two ends of the 3 1/2 strip and tape them together to make a ring.
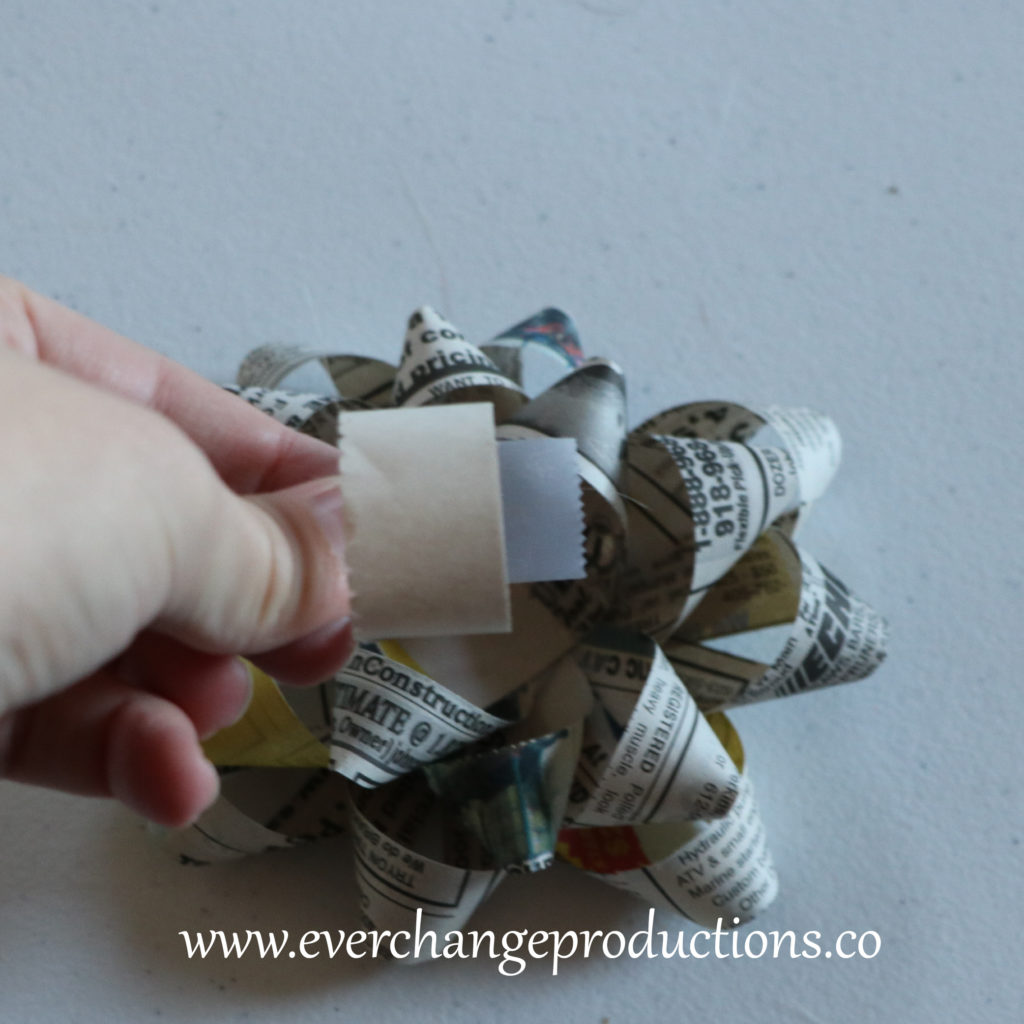
Step 7: Final Touch
Take the ring and tape it down in the space in the middle of the bow.
And there you have it! A beautiful handmade gift bow to add an extra personal touch to any gift.
Don’t forget to save this pin for later! Check out some of our other DIY projects here!
These are so amazing. I love your story about learning to make them and I love how they look. Nice job! I can’t wait to make some!
Thank you! I hope you have as much fun as I do!
[…] or even brown paper sacks. They are so cute, here is one she made for fall gifts. I love it! Click here to check them […]
[…] Homemade Gift Bows can be made from any type of paper and all that leftover Christmas wrapping paper will have a purpose! […]